Table of Contents
A Delectable Journey: White Chocolate in Gluten-Free Yellow Cake Recipe
The marriage of white chocolate and yellow cake creates an irresistible harmony that delights the senses. For those following a gluten-free lifestyle, finding the perfect cake recipe that doesn’t compromise on taste or texture can feel like an endless quest. Many gluten-free cakes fall victim to dryness, but we’re about to change that narrative with a game-changing addition: white chocolate.
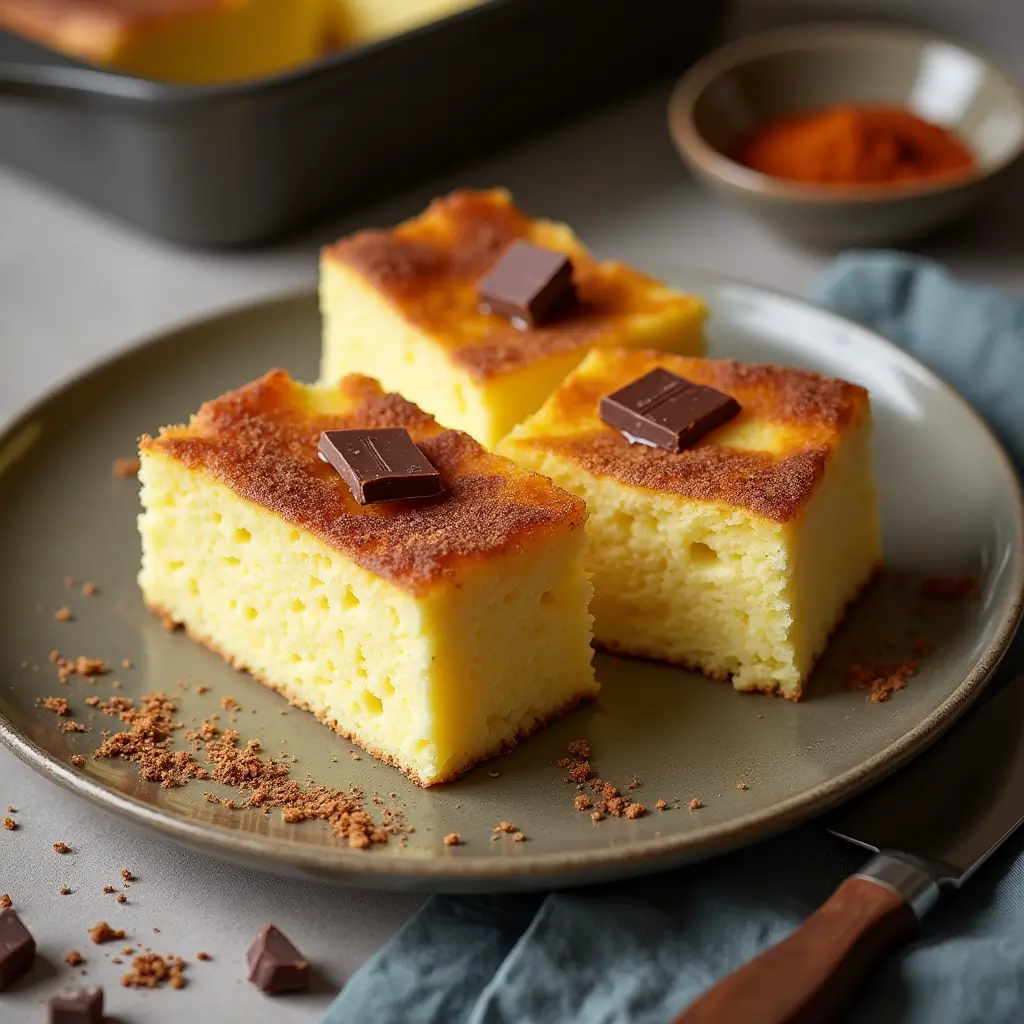
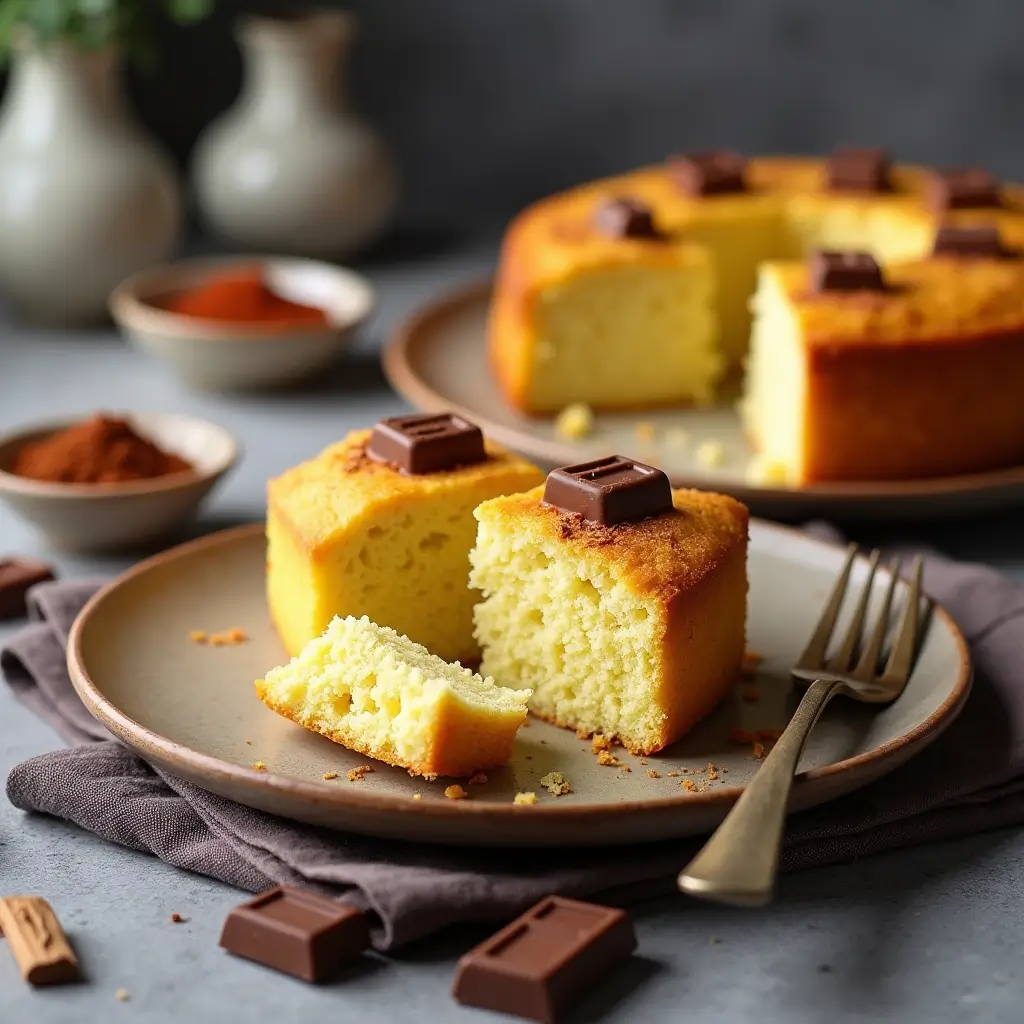
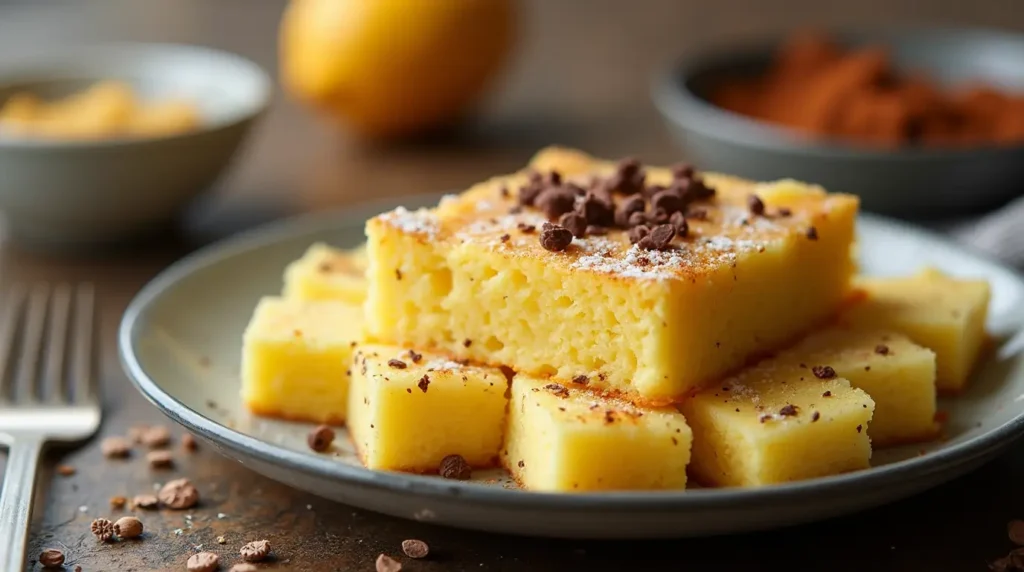
This gluten-free yellow cake with white chocolate isn’t just another recipe – it’s the solution to the common challenge of dry, crumbly gluten-free bakes. The white chocolate adds a luxurious moisture and richness that transforms an ordinary cake into an extraordinary dessert suitable for any celebration, from birthdays to afternoon tea.
The Secret Behind Perfect Gluten-Free Baking
Before we dive into the recipe, let’s understand what makes this cake special. The addition of white chocolate serves multiple purposes: it adds moisture, creates a tender crumb structure, and introduces a subtle sweetness that enhances the vanilla notes in the yellow cake. This isn’t just about adding flavor – it’s about engineering the perfect texture.
When baking gluten-free, each ingredient plays a crucial role in achieving that coveted moist, tender crumb that rivals traditional wheat-based cakes. The scientific combination of proteins, fats, and moisture works together to create a cake that remains fresh and delicious for days.
Essential Ingredients: Building Your Perfect Cake
The Foundation
- 1 box gluten-free yellow cake mix (ensure it contains xanthan gum)
- 3 large eggs, at room temperature
- 1/3 cup vegetable oil
- 1 cup water
- 1 cup high-quality white chocolate chips
Each ingredient serves a specific purpose in creating the perfect cake structure. The room-temperature eggs provide better emulsification and help create a finer crumb texture. The vegetable oil, rather than butter, ensures consistent moisture throughout the cake, while the water helps hydrate the gluten-free flour blend properly.
Optional Flavor Enhancers
- 1 teaspoon pure vanilla extract
- 1/2 teaspoon almond extract
- 1/2 cup chopped nuts (almonds or pecans)
- 1/4 cup shredded coconut
These optional ingredients allow you to customize the cake to your taste preferences while maintaining its perfect texture. The extracts enhance the cake’s aroma, while nuts and coconut add interesting texture variations.


The Art of Preparation: Step-by-Step Guide
Setting the Stage
Begin by preheating your oven to 350°F (175°C). This temperature is crucial for proper rise and texture development. While the oven heats, prepare your baking pan. For a traditional cake, use a 9×13 inch pan or two 8-inch round pans. Grease the pan thoroughly and dust with gluten-free flour, tapping out any excess. This preparation ensures your cake will release easily after baking.
Creating the Perfect Batter
- In a large bowl, combine your gluten-free yellow cake mix with the room-temperature eggs. The temperature of the eggs is crucial here – cold eggs can cause the batter to seize and result in an uneven texture.
- Add the vegetable oil and water gradually while mixing at medium speed. The key here is to achieve a smooth, well-incorporated batter without overmixing. Stop mixing as soon as the ingredients are combined and no dry spots remain.
- Gently fold in the white chocolate chips using a spatula. This folding technique preserves the air bubbles in your batter while ensuring even distribution of the chocolate.
The Baking Process
Pour the batter into your prepared pan(s), using a spatula to spread it evenly. For a 9×13-inch pan, bake for 28-35 minutes. If using round pans, reduce the baking time to 25-30 minutes.
The toothpick test is your best friend here: insert a toothpick into the center of the cake – it should come out clean or with just a few moist crumbs. If you see wet batter, continue baking in 2-minute intervals until done.
The Critical Cooling Phase
Let the cake cool in the pan for exactly 10 minutes – this allows the structure to set without becoming soggy from condensation. Then, carefully transfer to a wire rack to cool completely. This step is crucial for achieving the perfect texture.
Mastering the Details: Professional Tips
Moisture Management
The secret to a consistently moist gluten-free cake lies in understanding moisture balance. Consider these professional tips:
- Add a tablespoon of full-fat yogurt to the batter for extra moisture and tenderness
- Never reduce the oil content – it’s essential for keeping the cake moist
- Store the cake in an airtight container with a slice of apple to maintain moisture
Temperature Control
Proper temperature management throughout the baking process is crucial:
- All ingredients should be at room temperature before mixing
- Use an oven thermometer to ensure accurate temperature
- Never open the oven door during the first 20 minutes of baking
Creative Variations: Making It Your Own
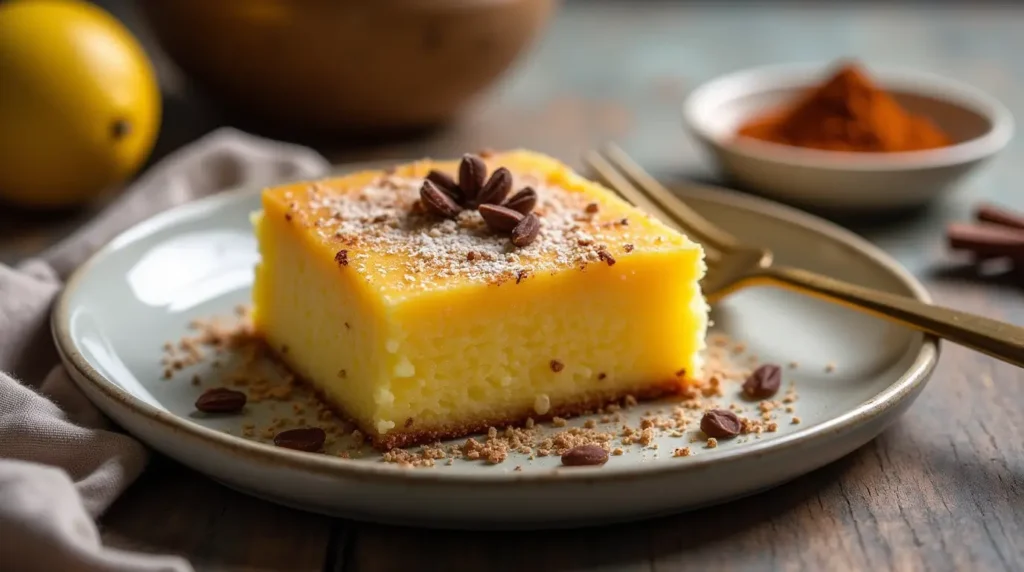
Lemon-White Chocolate Symphony
Transform the basic recipe by adding:
- 1 teaspoon fresh lemon zest
- 1 tablespoon lemon juice
- Lemon glaze (1 cup powdered sugar + 2 tablespoons lemon juice)
Berry Bliss
Create a fruity variation with:
- 1/2 cup fresh or frozen berries (raspberries work particularly well)
- White chocolate drizzle
- Fresh berries for garnish
Tropical Paradise
Add these ingredients for a taste of the tropics:
- 1/2 cup toasted coconut
- 1/4 teaspoon coconut extract
- Passion fruit glaze

Professional Storage and Serving Tips
Optimal Storage Methods
The key to maintaining your cake’s perfect texture lies in proper storage. For best results:
- Room Temperature Storage:
- Keep for up to 3 days in an airtight container
- Place parchment paper between layers if stacked
- Add a slice of bread to maintain moisture
- Refrigeration Method:
- Store up to one week when properly wrapped
- Double-wrap individual slices in plastic wrap
- Allow to come to room temperature before serving
- Freezer Storage:
- Freeze unfrosted cake for up to 3 months
- Wrap in plastic wrap, then aluminum foil
- Thaw overnight in the refrigerator
Perfect Serving Suggestions
Transform each serving into a memorable experience:
- Warm individual slices for 10-15 seconds in the microwave
- Serve with a drizzle of melted white chocolate
- Garnish with fresh seasonal fruit
- Add a dollop of whipped cream or dairy-free alternative
Troubleshooting Guide: Common Questions and Solutions
Why Did My Cake Sink in the Middle?
Common causes and solutions:
- Oven door opened too soon
- Wait until at least 20 minutes into baking before checking
- Use oven light to monitor progress
- Incorrect oven temperature
- Invest in an oven thermometer
- Calibrate your oven regularly
- Overmixing the batter
- Stop mixing as soon as ingredients are incorporated
- Fold in white chocolate chips gently
Addressing Texture Issues
- Gummy Texture:
- Reduce liquid content slightly
- Check for proper measuring of ingredients
- Ensure adequate baking time
- Crumbly Texture:
- Increase white chocolate content
- Add an extra egg yolk
- Check freshness of ingredients
White Chocolate Selection Guide
Choosing the right white chocolate makes a significant difference:
- Quality Indicators:
- Cocoa butter should be listed as a main ingredient
- Avoid products labeled “white baking chips”
- Look for at least 20% cocoa butter content
- Recommended Brands:
- Ghirardelli Premium White Chocolate
- Lindt White Chocolate
- Callebaut White Chocolate (professional grade)
The Science Behind Gluten-Free Success
Understanding the chemistry helps achieve better results:
Role of Key Ingredients
- Xanthan Gum:
- Provides structure
- Mimics gluten’s binding properties
- Typically use 1/4 teaspoon per cup of flour
- White Chocolate:
- Adds fat for tenderness
- Provides moisture retention
- Creates structure through protein content
- Eggs:
- Provide structure
- Add moisture
- Create emulsion for better texture

Advanced Decorating Techniques
White Chocolate Garnishes
- Chocolate Curls:
- Spread melted white chocolate thinly
- Cool until almost set
- Scrape with a bench scraper
- Chocolate Shards:
- Pour tempered chocolate on parchment
- Cool completely
- Break into artistic pieces
- Marbled Effects:
- Drizzle white and dark chocolate
- Swirl with a toothpick
- Allow to set before using
Understanding Gluten-Free Ingredients
Flour Blend Properties
Different gluten-free flours contribute unique properties:
- Rice Flour:
- Provides structure
- Light texture
- Neutral flavor
- Tapioca Starch:
- Adds chewiness
- Improves browning
- Helps with moisture retention
- Potato Starch:
- Creates tenderness
- Adds moisture
- Improves shelf life
Nutritional Considerations
Making Healthier Choices
- Sugar Alternatives:
- Coconut sugar
- Monk fruit sweetener
- Stevia blends
- Fat Substitutions:
- Applesauce (reduce by 25%)
- Greek yogurt
- Mashed banana
Special Occasion Adaptations
Wedding Cake Version:
- Reduce sugar by 10%
- Add extra vanilla
- Use premium white chocolate
- Consider adding edible flowers
Birthday Cake Modifications:
- Add sprinkles to batter
- Create colorful layers
- Consider adding food coloring
- Increase vanilla flavor
Conclusion
This gluten-free white chocolate yellow cake recipe proves that dietary restrictions don’t mean sacrificing taste or texture. By understanding the science behind gluten-free baking and the crucial role of each ingredient, you can create a cake that’s not just “good for gluten-free” but simply outstanding on its own merits.
Remember, baking is both a science and an art. Don’t be afraid to experiment with the variations suggested, but always maintain the core ratios that make this recipe successful. Share your creations with others, and let them experience the joy of a truly exceptional gluten-free dessert that rivals any traditional cake.
We encourage you to try this recipe and make it your own. Tag your creations on social media or share your experiences in the comments below. Your journey with gluten-free baking is unique, and each time you bake this cake, you’ll discover new ways to perfect it.

