Table of Contents
Ultimate Guide to Perfect Chocolate Sandwich Cookies with Chocolate Ganache
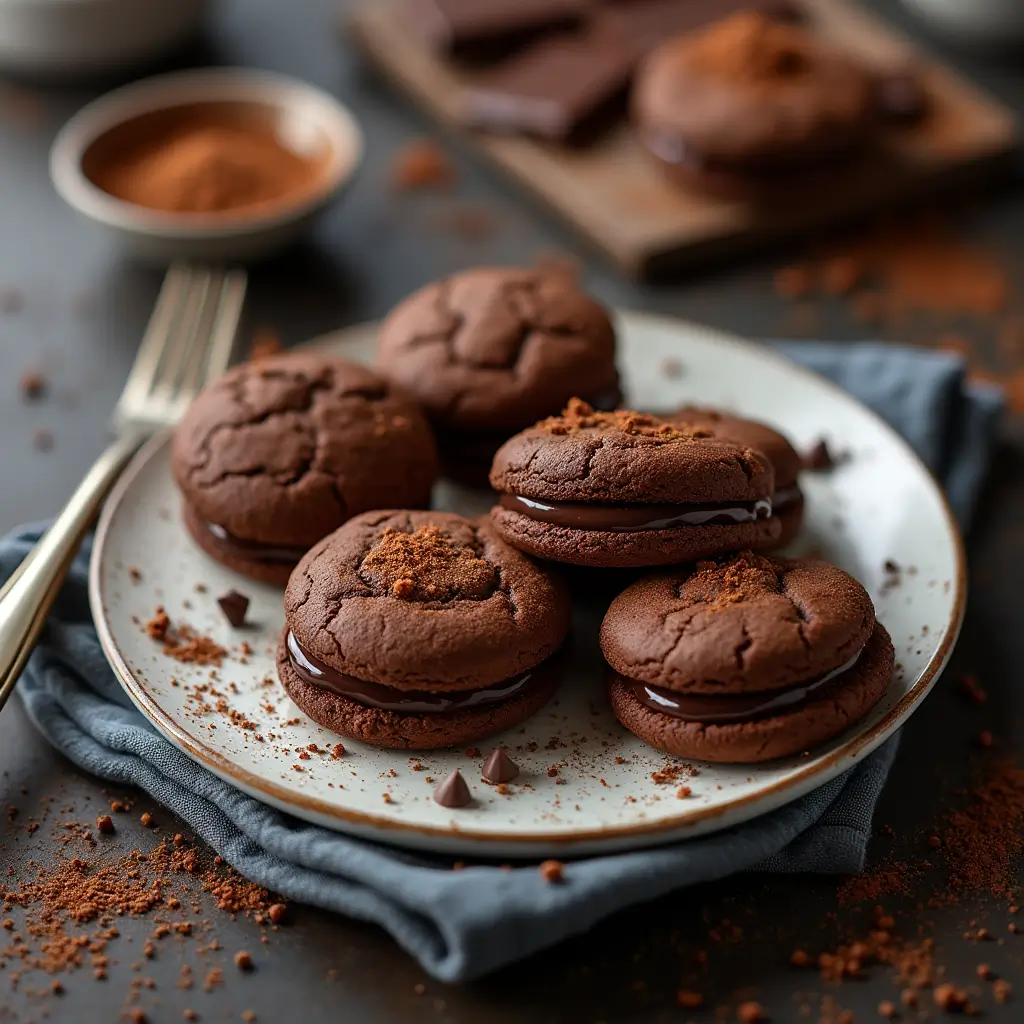
Imagine biting into a cookie that combines the nostalgic comfort of your favorite childhood sandwich cookie with the sophisticated indulgence of artisanal chocolate. These homemade chocolate sandwich cookies deliver exactly that – a perfect balance of soft, tender chocolate cookies embracing a silky-smooth dark chocolate ganache filling. If you’ve ever wished you could elevate the classic Oreo experience to new heights of chocolate luxury, this recipe is your answer.
The Ultimate Chocolate Lover’s Experience
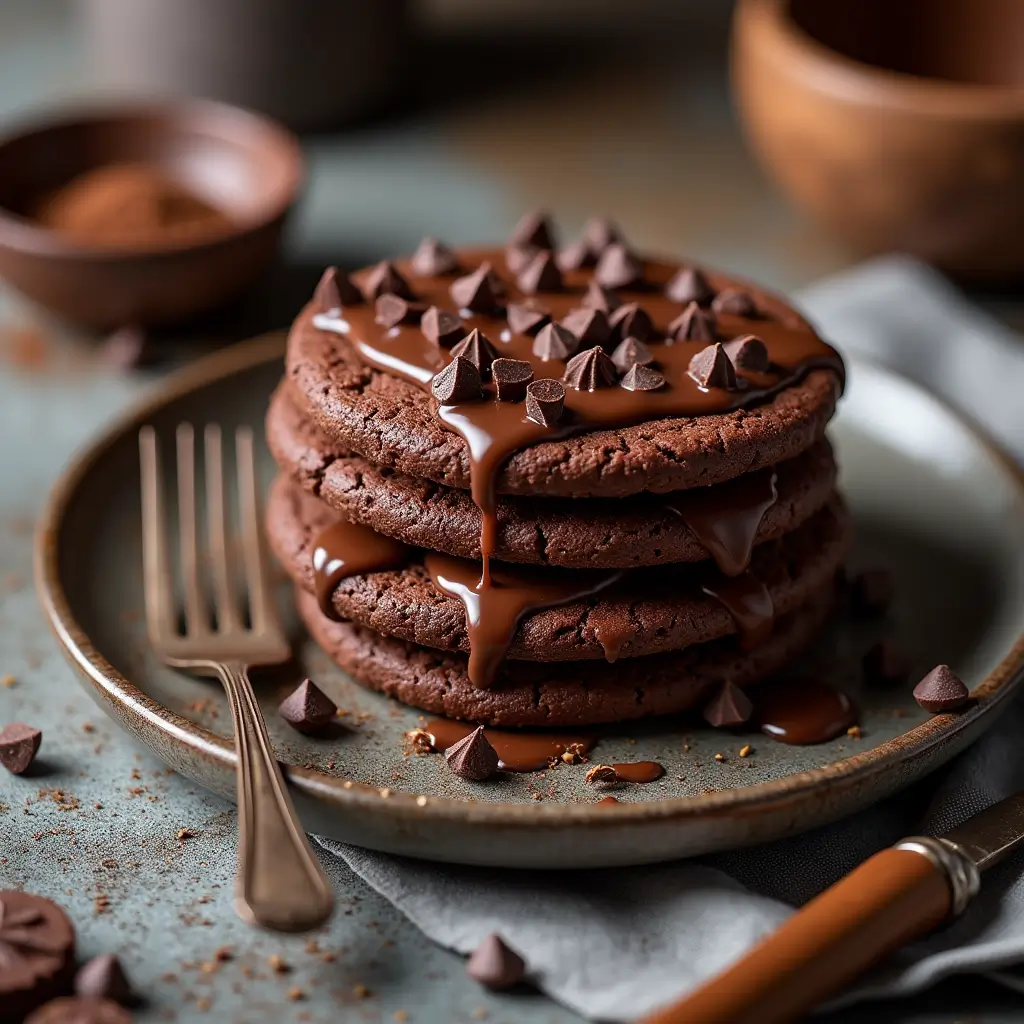
There’s something magical about the combination of chocolate on chocolate. These sandwich cookies take that magic to the next level by incorporating two distinct chocolate experiences: a delicate cocoa-infused cookie that literally melts in your mouth, and a rich, velvety dark chocolate ganache that provides an intense chocolate satisfaction. Each element has been carefully crafted to complement the other, creating a symphony of chocolate flavors that will delight even the most discerning chocolate enthusiast.
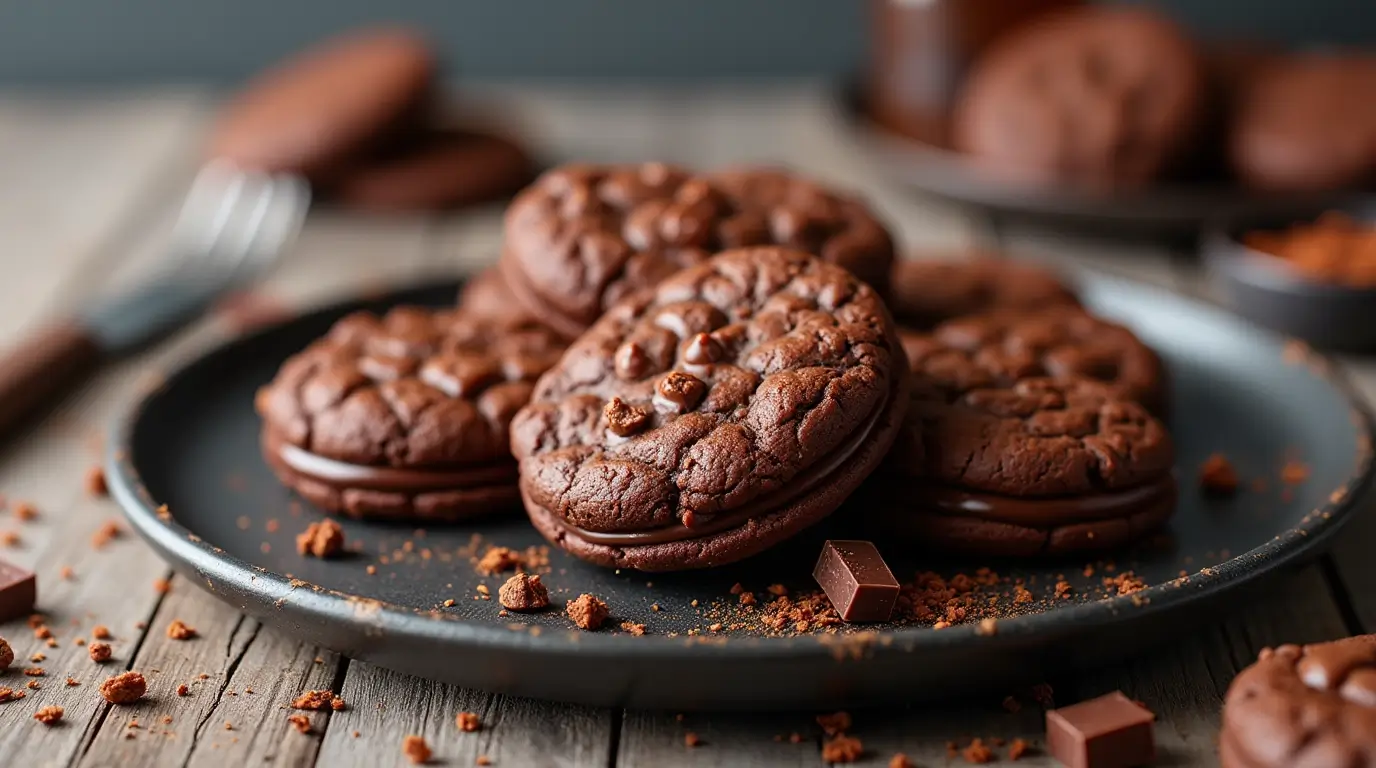
The secret to these cookies’ irresistible appeal lies in their carefully balanced components. The cookie base is tender and delicate, with just enough structure to hold together while still delivering that coveted melt-in-your-mouth sensation. The ganache filling, made with high-quality dark chocolate, provides a luxurious contrast in both texture and intensity. Together, they create a cookie that’s sophisticated enough for special occasions yet comforting enough for everyday indulgence.
Why This Recipe Stands Apart
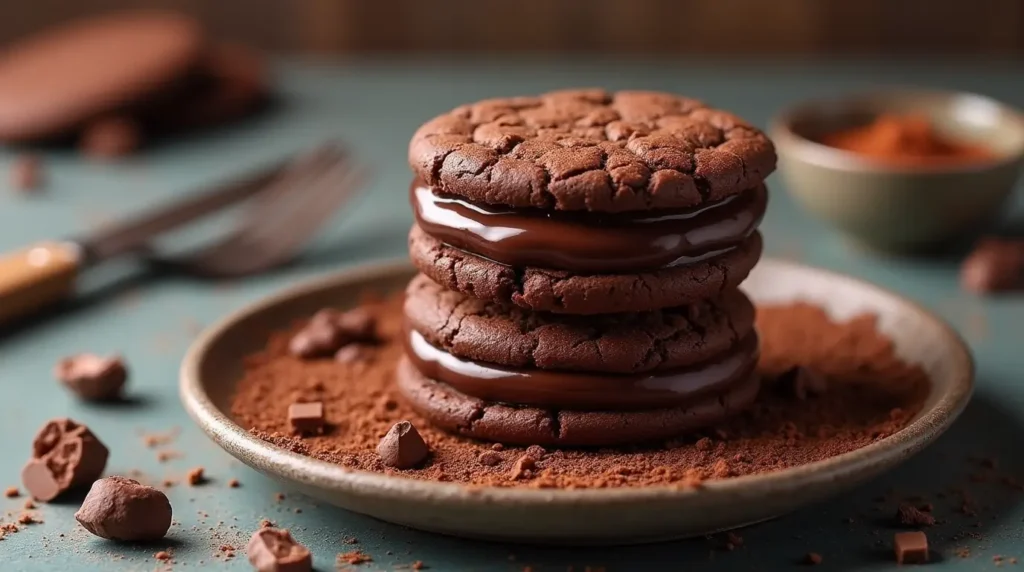
What makes these chocolate sandwich cookies truly special is their thoughtful design. Unlike store-bought alternatives that often rely on artificial flavors and preservatives, these cookies celebrate the pure, rich taste of real chocolate. The cookie dough itself incorporates premium cocoa powder, which provides a deep chocolate flavor without becoming overwhelming. This creates the perfect canvas for the star of the show – the dark chocolate ganache filling.
The ganache deserves special attention because it’s where this recipe truly shines. By using high-quality dark chocolate bars rather than chocolate chips, we create a filling that’s exceptionally smooth and rich. Chocolate bars melt more consistently than chips, which often contain stabilizers that can affect their melting properties. This attention to detail results in a filling that’s not only delicious but also has the perfect consistency for sandwich cookies.
The Science Behind Perfect Cookie Texture
The melt-in-your-mouth texture of these cookies isn’t just a happy accident – it’s the result of careful ingredient selection and technique. The combination of powdered sugar and room-temperature butter creates a delicate crumb structure that’s essential for the perfect texture. The egg yolks add richness and help bind the dough while keeping it tender. Meanwhile, the proper ratio of flour to cocoa powder ensures the cookies hold their shape while remaining delicate.
Let’s take a deeper look at each component that makes these cookies exceptional:
The Cookie Base
Starting with the cookie base, each ingredient plays a crucial role:
The all-purpose flour (2 cups or 280g) provides the structure needed for the cookies to hold their shape. The protein content in all-purpose flour is ideal for these cookies – strong enough to maintain structure but not so high that it makes the cookies tough.
The cocoa powder (½ cup or 50g) isn’t just for flavor. It also contributes to the texture by replacing some of the flour, resulting in a more delicate crumb. The natural fat in cocoa powder helps create that desired melt-in-your-mouth quality.
Salt (½ teaspoon) might seem like a minor player, but it’s crucial for enhancing the chocolate flavor and balancing the sweetness. It helps bring out the complexity of the cocoa powder and makes all the flavors more pronounced.
The butter (1 cup or 225g) needs to be at room temperature for proper creaming with the sugar. This process creates tiny air pockets that contribute to the cookie’s texture. Using unsalted butter allows precise control over the salt content.
Powdered sugar (1 cup or 120g) is a key ingredient for achieving the delicate texture. Its fine texture and inclusion of cornstarch helps create tender cookies that literally melt in your mouth.
The egg yolks (2 large) provide richness and help bind the dough together. Using only the yolks rather than whole eggs reduces the moisture content, which is crucial for achieving the right texture.
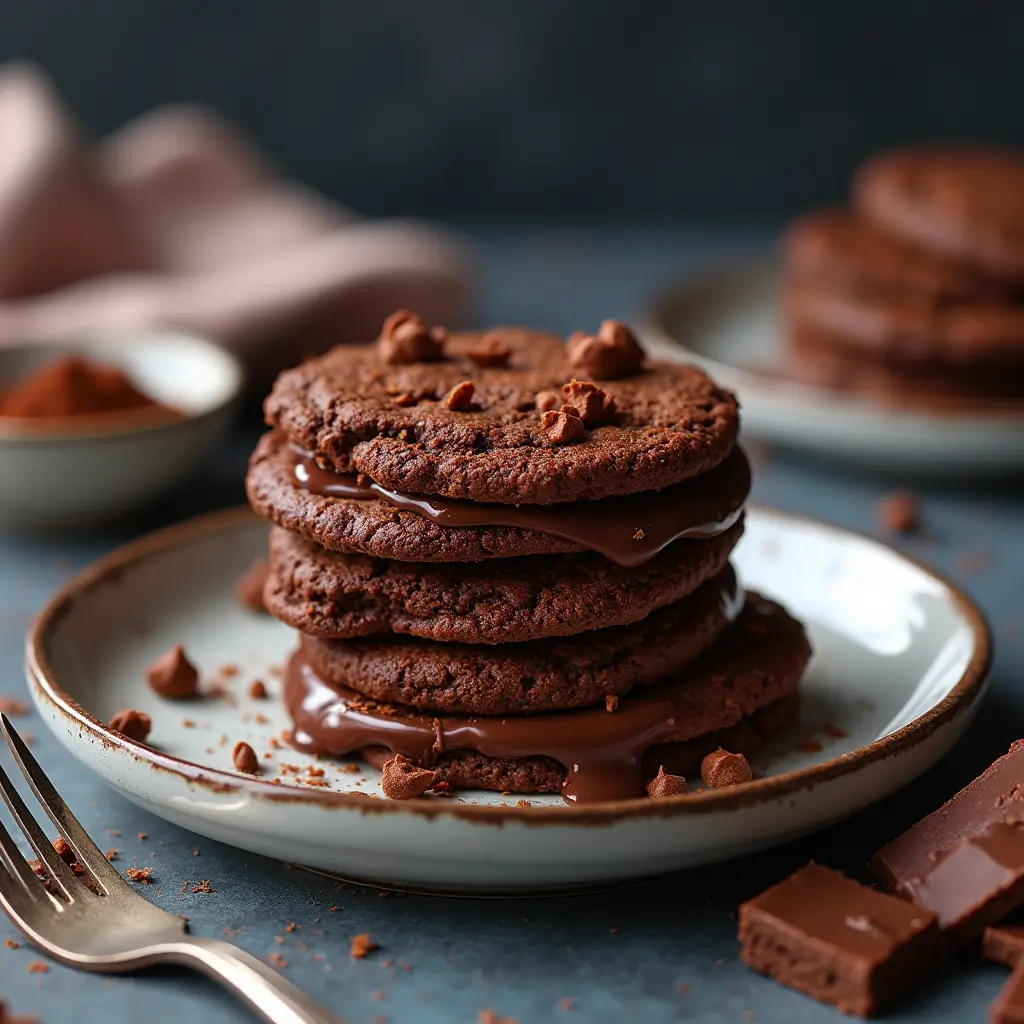
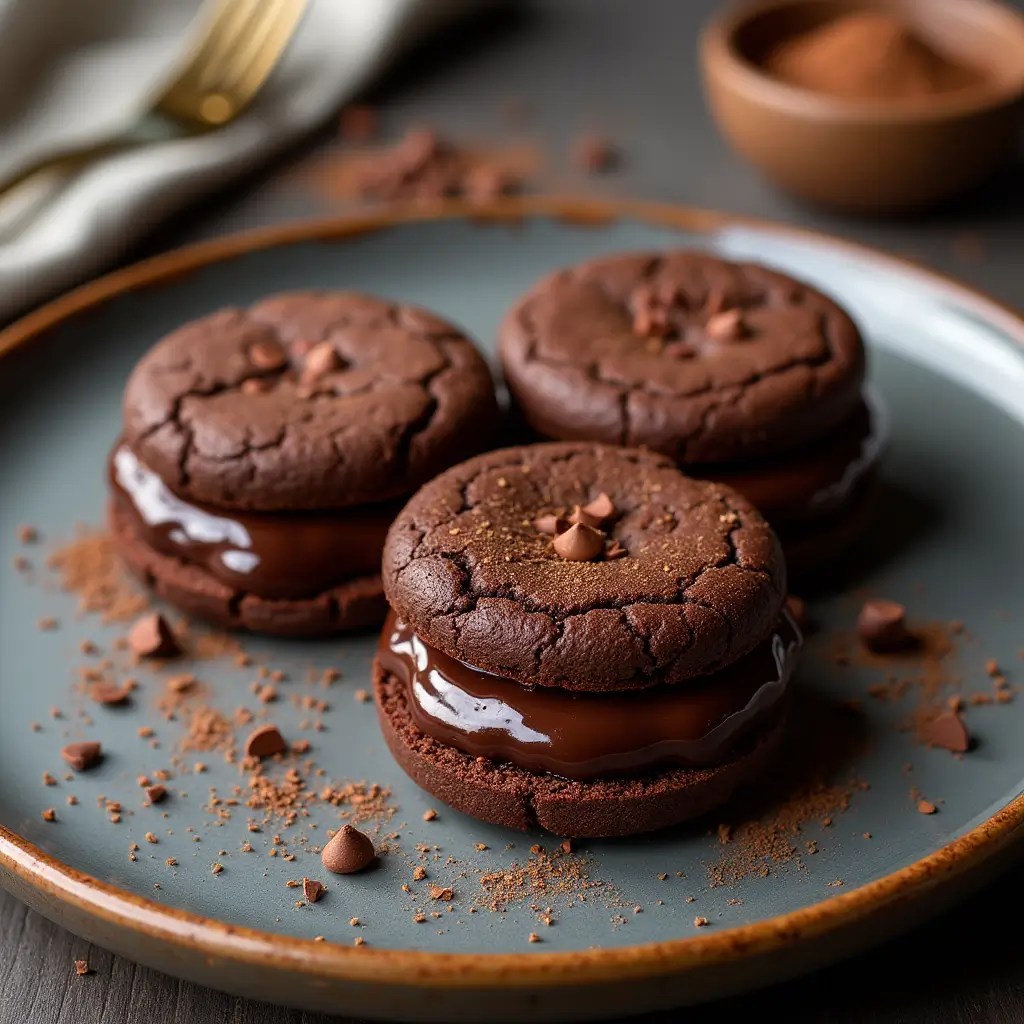
The Chocolate Ganache Filling
The ganache filling might seem simple with just two ingredients, but it’s the technique and quality of ingredients that make it extraordinary. The heavy cream (1 cup or 240ml) provides the perfect medium for the chocolate, creating a smooth, rich filling that’s neither too firm nor too soft. The dark chocolate (300g) should be of high quality – this is where investing in good chocolate really pays off.
The ratio of chocolate to cream in this recipe has been carefully calculated to achieve the perfect consistency for a sandwich cookie filling. It’s firm enough to hold the cookies together without squishing out the sides when bitten, yet soft enough to provide that luxurious mouthfeel that makes these cookies so special.
Step-by-Step Guide to Cookie Perfection
Preparing the Cookie Dough
The process begins with proper preparation. Having all ingredients at room temperature is crucial, particularly the butter. This ensures even mixing and the proper development of texture. Here’s a detailed breakdown of the process:
- Begin by preparing your dry ingredients. Sifting or whisking together the flour, cocoa powder, and salt serves two purposes: it removes any lumps that could affect the texture of your cookies, and it ensures even distribution of the cocoa powder throughout the flour.
- The creaming process is perhaps the most crucial step. When beating the softened butter and powdered sugar, the goal is to incorporate air into the mixture, creating a light and fluffy base. This takes a full 2-3 minutes of beating – don’t rush this step! You’ll notice the color becoming lighter and the texture becoming fluffier.
- Adding the egg yolks requires careful attention. Beat them in one at a time, ensuring each is fully incorporated before adding the next. This creates an emulsion that helps hold the dough together and contributes to the final texture.
- When adding the dry ingredients, mix slowly and stop as soon as the dough comes together. Overmixing at this stage can develop too much gluten, resulting in tough cookies rather than the desired melt-in-your-mouth texture.
The Importance of Chilling
The one-hour (minimum) chilling time isn’t just a suggestion – it’s essential for several reasons:
- It allows the flour to fully hydrate
- Firms up the butter, making the dough easier to handle
- Prevents excessive spreading during baking
- Helps the cookies maintain their shape
- Enhances the flavor as the ingredients have time to meld
For best results, wrap the dough discs tightly in plastic wrap to prevent them from drying out or absorbing refrigerator odors. If you’re planning ahead, the dough can be chilled overnight for even better results.
Rolling and Cutting Success
The rolling process requires attention to detail:
Start with a lightly floured surface – too much flour can make the cookies tough, but too little will cause sticking. Work with one disc at a time, keeping the other chilled. The goal thickness of ⅛ to ¼ inch is crucial – too thick and the cookies will lose their delicate quality, too thin and they’ll become fragile.
A useful tip: if the dough becomes too soft while working with it, don’t hesitate to return it to the refrigerator or even pop it in the freezer for a few minutes. Working with properly chilled dough makes the cutting process much cleaner and easier.
The Art of Baking
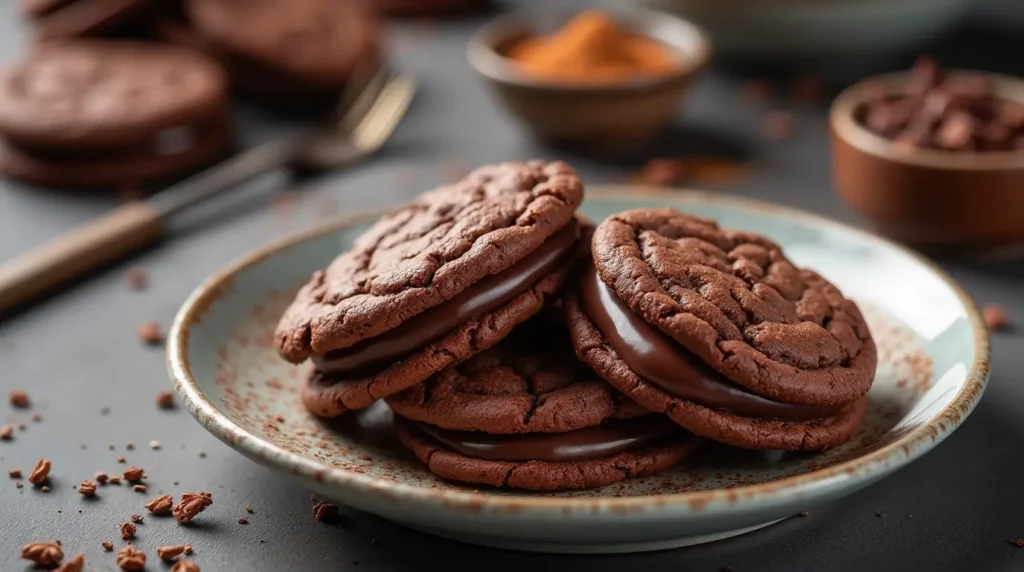
The baking temperature of 340°F (170°C) has been carefully chosen. It’s slightly lower than many cookie recipes, which allows the cookies to bake evenly without becoming too dark or bitter. The 8-10 minute baking time is also crucial:
- At 8 minutes, cookies will be softer and more delicate
- At 10 minutes, they’ll be slightly firmer and more sturdy
- Watch for slight firmness at the edges as your indicator
- The cookies will continue to set as they cool
Mastering the Ganache
Creating the perfect ganache is an art that requires attention to temperature and timing:
- When heating the cream, look for small bubbles around the edges – you want it hot enough to melt the chocolate but not boiling, which could make the ganache grainy.
- After pouring the hot cream over the chopped chocolate, resist the urge to stir immediately. The brief waiting period allows the chocolate to melt more evenly, resulting in a smoother ganache.
- When stirring, start from the center and work your way outward in concentric circles. This creates an emulsion that gives the ganache its signature silky texture.
- The 30-minute cooling period is essential for achieving the right consistency for filling. The ganache should be thick enough to hold its shape but still spreadable.
