Table of Contents
Chocolate Peanut Butter Mousse Cake with Oreo Crust (No-Bake Recipe)
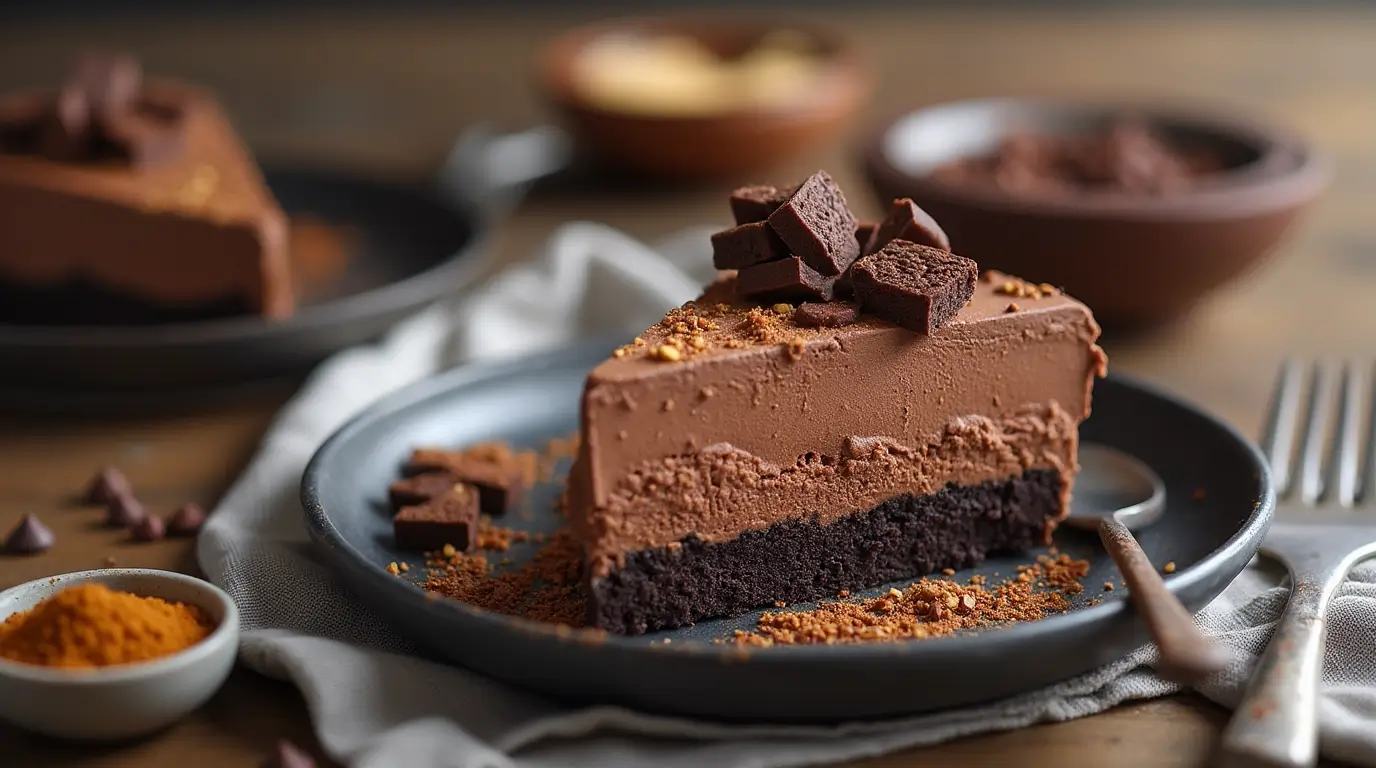
Looking for the ultimate no-bake dessert? This chocolate peanut butter mousse cake with Oreo crust combines everyone’s favorite flavors into one showstopping treat. Four incredible layers – a crunchy Oreo cookie crust, creamy peanut butter mousse, rich chocolate mousse, and a glossy chocolate ganache – come together to create a dessert that’s both impressive and surprisingly easy to make.
Inspired by pastry chef Tish Boyle’s classic recipes, I’ve perfected this chocolate peanut butter mousse cake with Oreo crust to ensure it’s achievable for home bakers while maintaining professional-quality results. The best part? No gelatin is needed – we achieve the perfect texture through properly whipped cream and careful layering techniques.
What Makes This Mousse Cake Special
Before we dive into the recipe, let’s talk about what makes this cake a standout dessert:
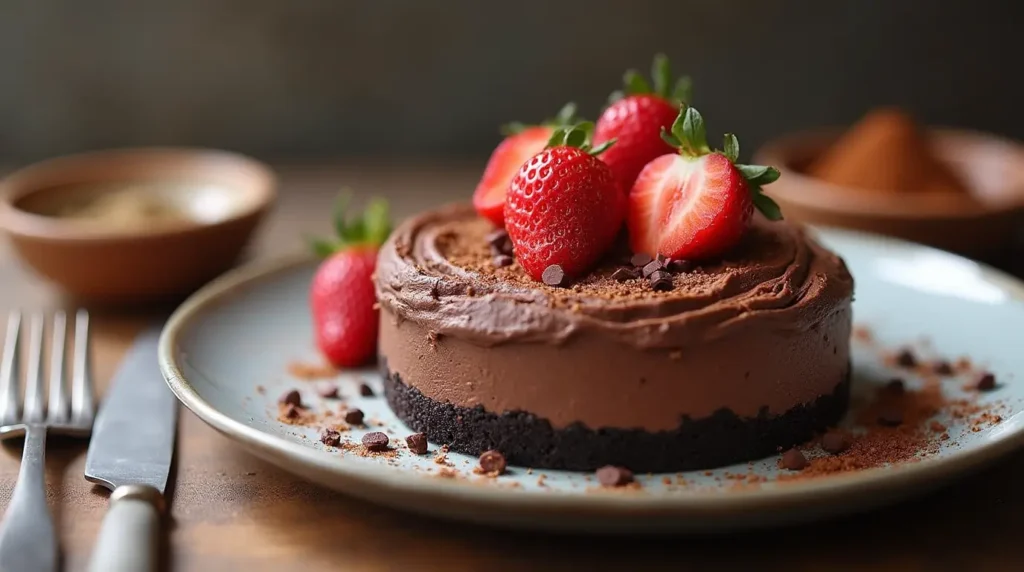
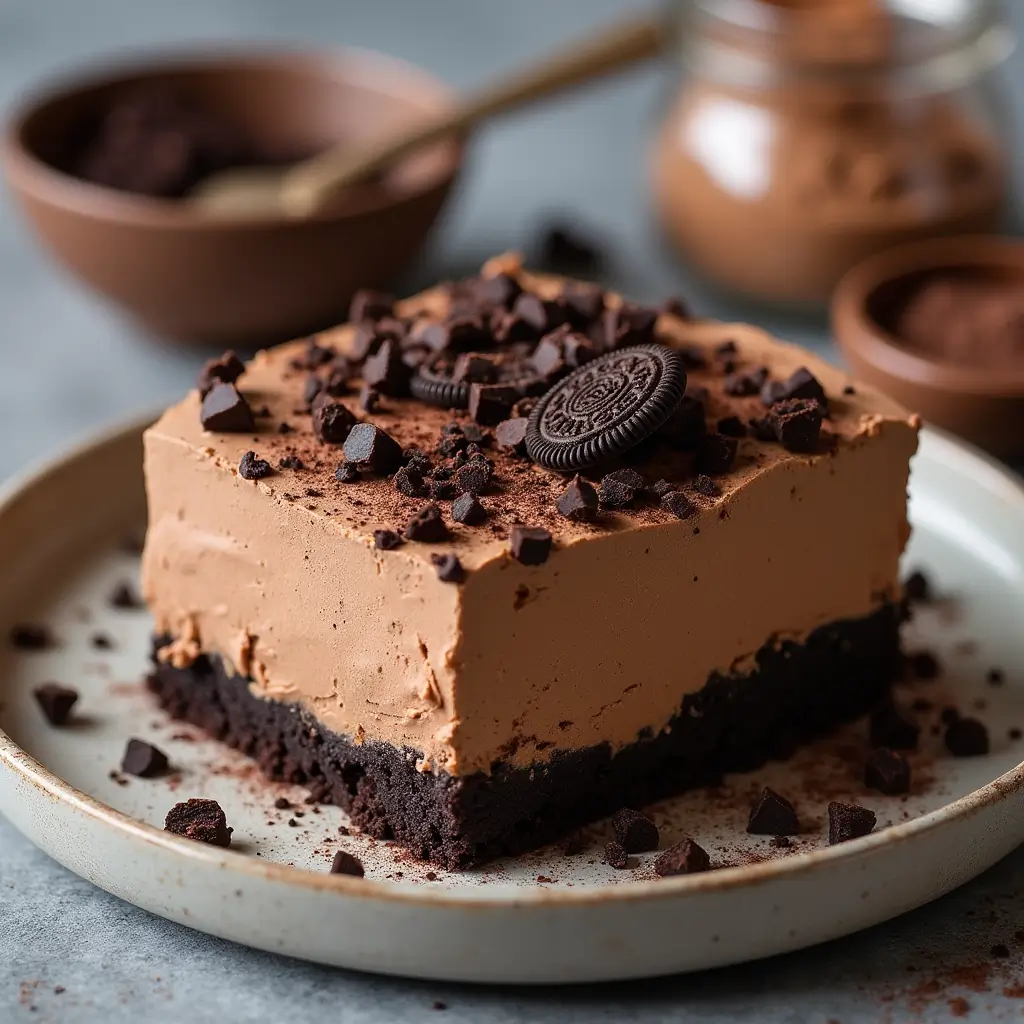
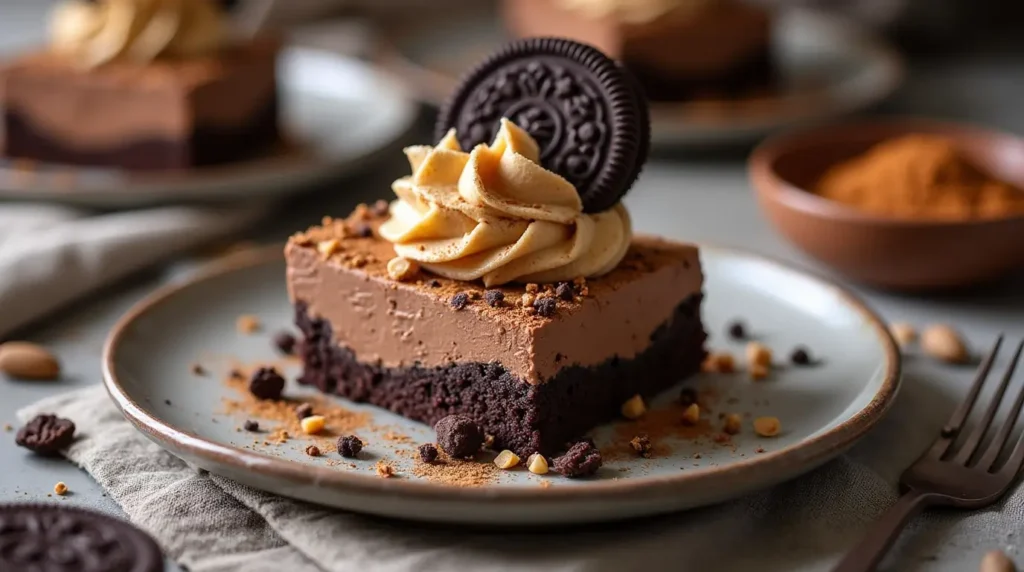
The foundation is a chocolate cookie crust that provides a satisfying crunch against the ethereal mousse layers. Above that sits a cloud-like peanut butter mousse that’s rich but not heavy, followed by a chocolate mousse layer that’s equally light and luxurious. The crowning touch is a mirror-like chocolate ganache that adds both visual drama and an extra hit of chocolate intensity.
Each component plays its part perfectly, creating a symphony of textures and flavors that will have your guests asking for seconds (and the recipe).
Essential Equipment
Before you begin, make sure you have:
- A 9-inch springform pan
- Electric mixer (stand mixer preferred, but hand mixer works too)
- Microwave or double boiler for melting chocolate
- Rubber spatula
- Fine-mesh strainer (optional, but helpful)
- Measuring cups and spoons
- Digital kitchen scale (recommended for precise measurements)
Why You’ll Love This Chocolate Peanut Butter Mousse Cake with Oreo Crust
This dessert stands out for several reasons:
- The Oreo crust provides an irresistible chocolate cookie base that complements both mousse layers
- No baking required – perfect for warm weather entertaining
- Make-ahead friendly – actually tastes better the next day
- Impressive presentation with minimal effort
- Four distinct textures that create an exceptional dessert experience
Ingredients
For the Chocolate Cookie Crust:
- 1¾ cups (170g) chocolate wafer crumbs or chocolate digestive biscuit crumbs
- 6 tablespoons (85g) unsalted butter, melted
- Pinch of salt
For the Peanut Butter Mousse:
- ⅔ cup (140g) cream cheese, softened
- 2 tablespoons unsalted butter, softened
- 1¼ cups (145g) powdered sugar, sifted
- ¾ cup (200g) creamy peanut butter (like Jif or Skippy)
- ¼ teaspoon salt
- 1 teaspoon pure vanilla extract
- 2½ cups (600ml) heavy cream, divided
For the Chocolate Mousse:
- 140g (5 oz) bittersweet chocolate, chopped
- 100g (3.5 oz) milk chocolate, chopped
- ⅓ cup (80ml) whole milk
- 1 teaspoon pure vanilla extract
- Remaining whipped cream from peanut butter mousse preparation
For the Chocolate Ganache Glaze:
- 120g (4 oz) bittersweet chocolate, chopped
- ½ cup (120ml) heavy cream
Step-by-Step Instructions
Preparing the Chocolate Cookie Crust
- Begin by preparing your 9-inch springform pan. Grease the bottom and sides lightly with butter or cooking spray. Line the bottom with parchment paper for easy removal later.
- If using whole cookies, process them in a food processor until you have fine crumbs. You want them to be consistent in size – think sandy texture.
- In a medium bowl, combine the chocolate cookie crumbs with the melted butter and salt. Mix until the mixture resembles wet sand and holds together when pressed.
- Press the mixture firmly into the bottom of your prepared springform pan. Use the bottom of a measuring cup to compress the crumbs – this helps create a sturdy base.
- For a traditional no-bake version, refrigerate the crust for at least 30 minutes to set. For a crunchier result, bake at 350°F (180°C) for 6-7 minutes, then cool completely.
Creating the Peanut Butter Mousse Layer
- In a large bowl, beat the softened cream cheese and butter until smooth and creamy, about 2 minutes. Scrape down the sides of the bowl as needed.
- Gradually add the sifted powdered sugar, beating until well combined and smooth. Don’t rush this step – proper incorporation prevents graininess.
- Add the peanut butter, salt, and vanilla extract. Beat until the mixture is uniform and fluffy, about 2-3 minutes.
- In a separate bowl, whip 2½ cups heavy cream until soft peaks form. The cream should be cold from the refrigerator for best results.
- Take 1½ cups of the whipped cream and gently fold it into the peanut butter mixture. Use a rubber spatula and a light hand – we want to maintain as much air as possible.
- Spread the peanut butter mousse evenly over the chilled crust. Smooth the top with an offset spatula.
- Refrigerate while preparing the chocolate mousse layer.
Making the Chocolate Mousse Layer
- Place both types of chopped chocolate and the whole milk in a microwave-safe bowl.
- Microwave in 30-second intervals, stirring between each, until the chocolate is almost completely melted. Stir until smooth and completely melted.
- Let the chocolate mixture cool until it’s just warm to the touch (about 85°F/29°C if you’re using a thermometer).
- Stir in the vanilla extract.
- Gently fold in the remaining whipped cream from earlier, using the same gentle technique as with the peanut butter mousse.
- Pour the chocolate mousse over the peanut butter layer, smoothing the top carefully.
- Refrigerate for at least one hour before adding the ganache.
Finishing with the Chocolate Ganache
- Place the chopped chocolate in a heat-safe bowl.
- Heat the heavy cream until it just begins to simmer (small bubbles around the edges).
- Pour the hot cream over the chocolate and let it sit for 1 minute.
- Stir slowly from the center outward until smooth and glossy.
- Let the ganache cool for about 5 minutes – it should be fluid but not hot.
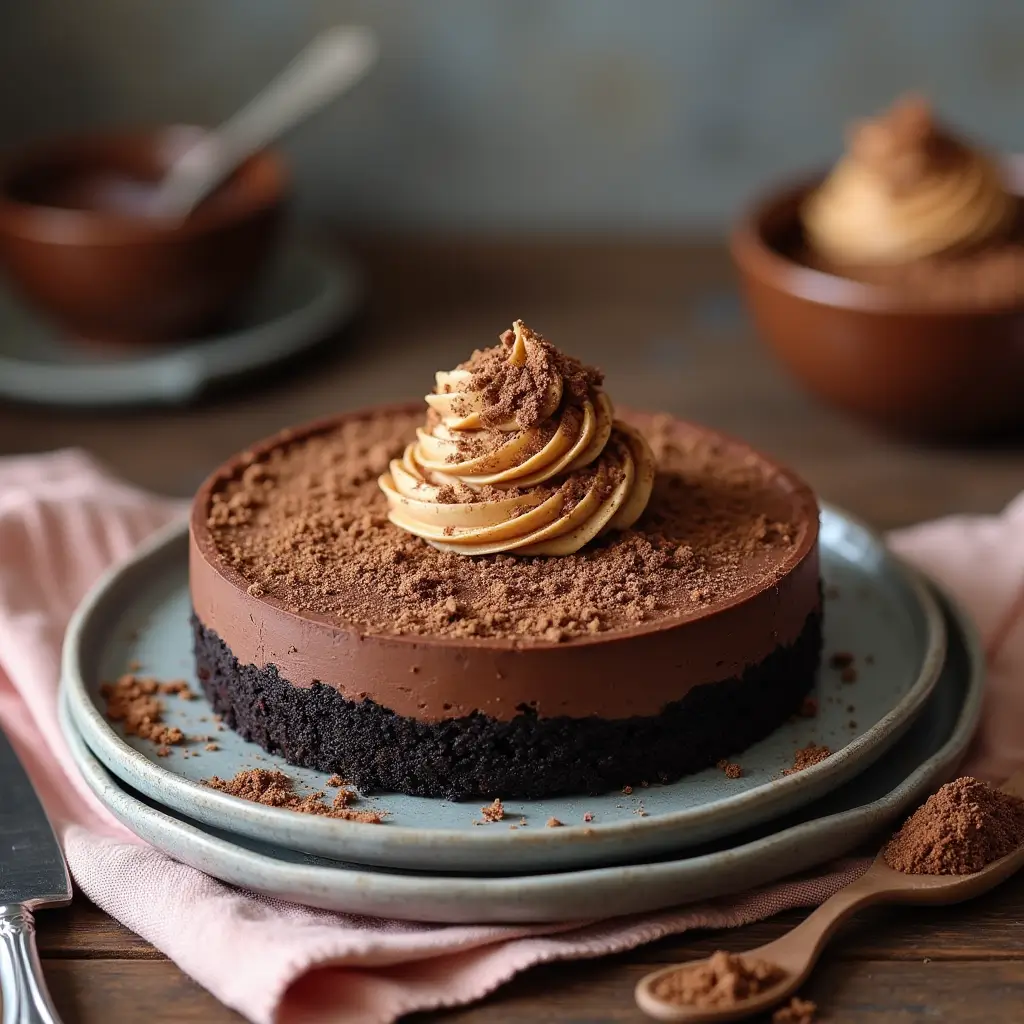
- Pour the ganache over the chilled mousse cake, tilting the pan gently to create an even layer.
- Refrigerate the completed cake for at least 6 hours, preferably overnight.
Pro Tips for Perfect Results
After years of making this cake, I’ve discovered several tricks that make a significant difference:
Temperature Control
- All dairy ingredients should be at the specified temperature. Room temperature cream cheese and butter blend more smoothly, while cream should be cold for optimal whipping.
- When melting chocolate, stop microwaving when it’s about 80% melted and stir to complete the process. This prevents overheating.
Texture Troubleshooting
- If your mousse becomes lumpy, pass it through a fine-mesh strainer or use an immersion blender to smooth it out.
- For the crumb crust, really pack it down firmly. A loose crust will crumble when serving.
- If your ganache seems too thick, add warm cream a teaspoon at a time. If it’s too thin, let it cool longer.
Make-Ahead and Storage
- This cake actually improves with time in the refrigerator, as the flavors meld and the textures set perfectly.
- Store covered in the refrigerator for up to 5 days.
- For longer storage, freeze for up to 2 months. Wrap well in plastic wrap and foil.
Frequently Asked Questions
What type of peanut butter works best?
Commercial creamy peanut butter like Jif or Skippy works best for this recipe. Natural peanut butter can separate and affect the texture of the mousse.
Can I use different cookies for the crust?
Absolutely! Oreos (with filling removed), chocolate graham crackers, or chocolate digestive biscuits all work well. Just ensure you have the correct amount of crumbs by weight.
Why isn’t there any gelatin in this recipe?
The structure comes from properly whipped cream and the natural setting properties of chocolate. The cake sets beautifully without gelatin, making it vegetarian-friendly.
Can I make this cake ahead of time?
Yes! This cake is perfect for making ahead. It needs at least 6 hours to set properly and tastes even better the next day.
How do I get clean slices?
Run a large knife under hot water, dry it completely, and make your cut. Clean and reheat the knife between each slice for the cleanest results.
Can I freeze individual slices?
Yes! Wrap individual slices well in plastic wrap, then foil. Thaw in the refrigerator overnight before serving.
Variations and Substitutions
While the classic version is hard to beat, here are some tested variations:
Alternative Flavors
- Replace peanut butter with Nutella for a chocolate-hazelnut version
- Use almond butter for a more subtle nut flavor
- Add a layer of caramel between the peanut butter and chocolate mousse
Dietary Modifications
- For a gluten-free version, use gluten-free chocolate cookies for the crust
- Dark chocolate can be substituted for milk chocolate for a more intense flavor
- While I haven’t tested dairy-free versions, readers have reported success using dairy-free cream cheese and coconut cream
Serving Suggestions
This cake is rich and satisfying on its own, but here are some serving ideas to make it even more special:
- Dust the top with cocoa powder just before serving
- Add a sprinkle of flaky sea salt to enhance the chocolate and peanut butter flavors
- Serve with fresh raspberries or strawberries for a fruity contrast
- Add a dollop of whipped cream and a drizzle of chocolate sauce for extra decadence
Other No-Bake Desserts You’ll Love
If you enjoy this recipe, try these other no-bake favorites from our collection:
- chocolate mousse cake
- swiss chocolate chalet cake
- cornbread chocolate cake
- Golden chocolate baked cake
- Costco Chocolate Mousse Cake
Recipe Card
No-Bake Chocolate Peanut Butter Mousse Cake
- Prep Time: 40 minutes
- Chill Time: 6 hours
- Total Time: 6 hours 40 minutes
- Yield: One 9-inch cake (12-14 servings)
- Category: Dessert
- Method: No-Bake
- Cuisine: American

